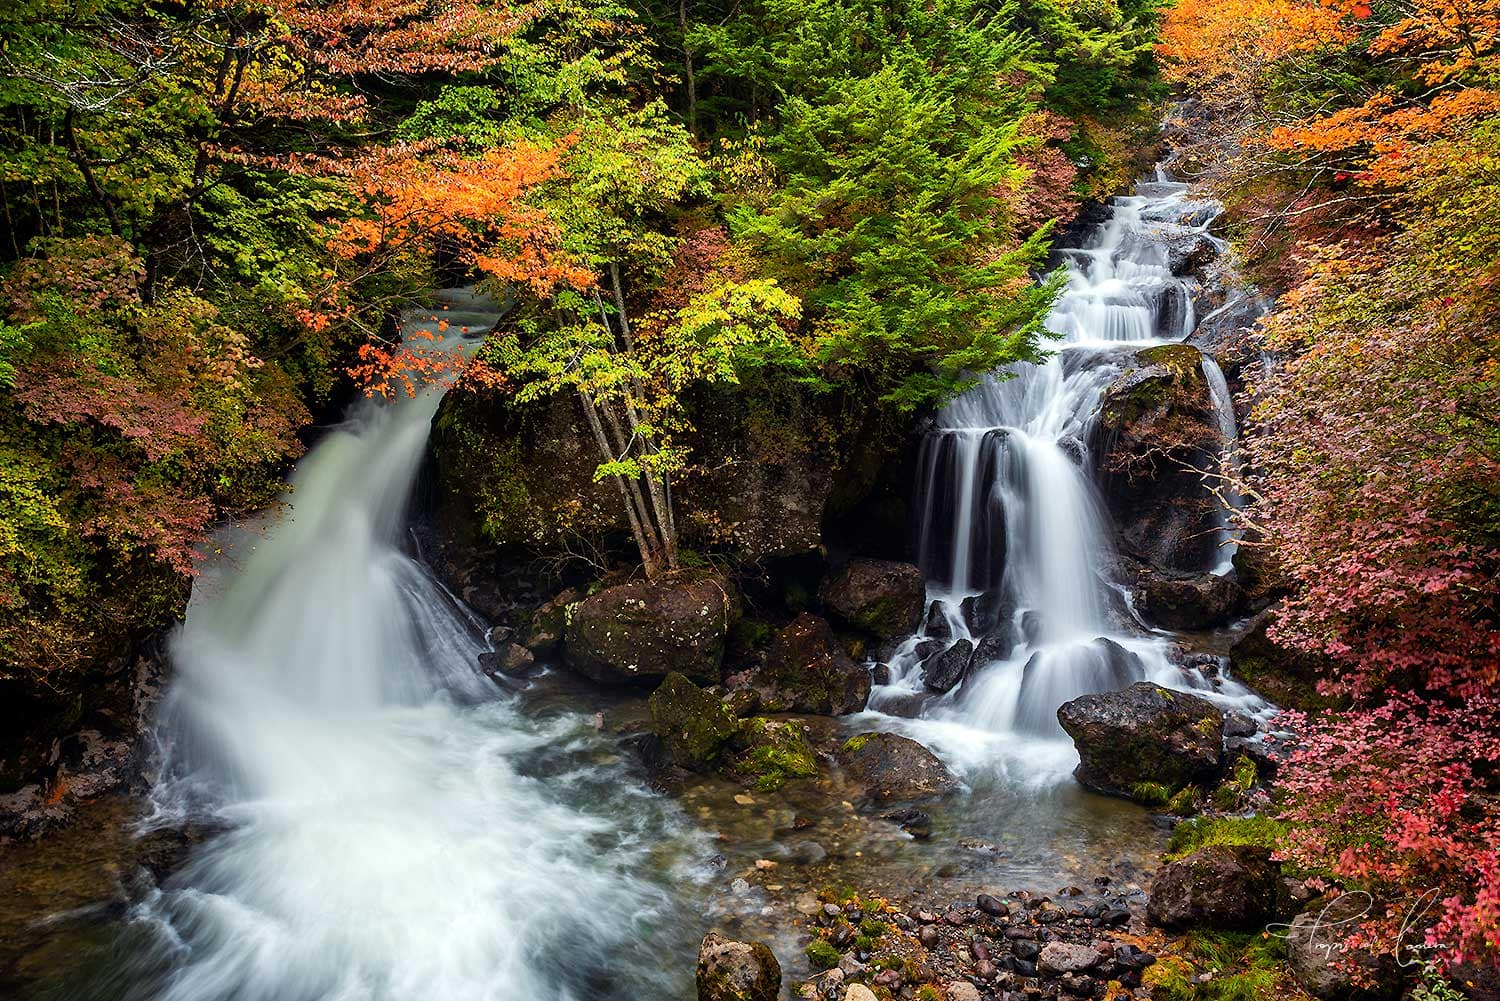
You’ve seen those pictures in the landscape magazines, with water flowing down the sides of mountains looking as smooth as silk. Taking a great waterfall photo is not as hard as it looks. Here’s how I do it.
What you’ll need
- tripod
- DSLR camera with manual aperture/shutter settings
- Neutral density filters (optional)
- Camera shutter release remote (optional)
Timing
The best time to take a long exposure photo of a waterfall is early morning or late afternoon, when the light is not strong, enabling a longer exposure. Many waterfalls are found in dark areas such as rainforests and glades, so it is possible to take a long exposure during the middle of the day.
Using filters
If you’re photographing a waterfall in bright conditions, never fear. Neutral density (ND) filters can be used to take long exposures during the day. You will need to compose your photo first, using manual focus, then screw the ND filter on. The viewfinder will look dark, but once you take the photo you’ll be able to see your work!
Safety
Take care when shooting waterfalls. It may seem like a great idea to hop that fence for a photo, but barriers are there for a reason. Strong water currents can easily take you and your equipment over the edge of a waterfall. Prioritise your safety over getting a picture.
How to take a long exposure waterfall photo
- Set up your tripod away from water sources. You may want to balance on a rock or lookout area. Make sure the tripod is stable and if your tripod has a centre hook, weight it with your bag.
- Compose your image. While it’s popular to shoot the whole waterfall, you can try different angles by getting low or focusing on a particular detail such as a rock or leaf.
- Put your camera on shutter priority. Set the shutter time to between 1-10 seconds. The aperture should be between f11-f22 for landscape photography. Generally, the longer the shutter speed the more smooth the waterfall will look.
- Focus your image
- Take the photo. Remember to time the exposure so you don’t shake the camera. Alternatively use a camera shutter release remote.
Tips and tricks
- If your lens is getting a little splash from the fall’s spray, try covering it with a large lens cloth until you’re ready to shoot.
- Get up and out. Finding the best waterfalls requires a little physical exercise.
- Try not to overdo the silky effect, otherwise it can look like one big blob of white. If you find the water is overexposed, try bracketing the exposure down using the plus/minus buttons on your camera.
- Look for patterns in the water. Water foam can make an attractive pattern when swirling in circles, which can only be seen with a long exposure.


